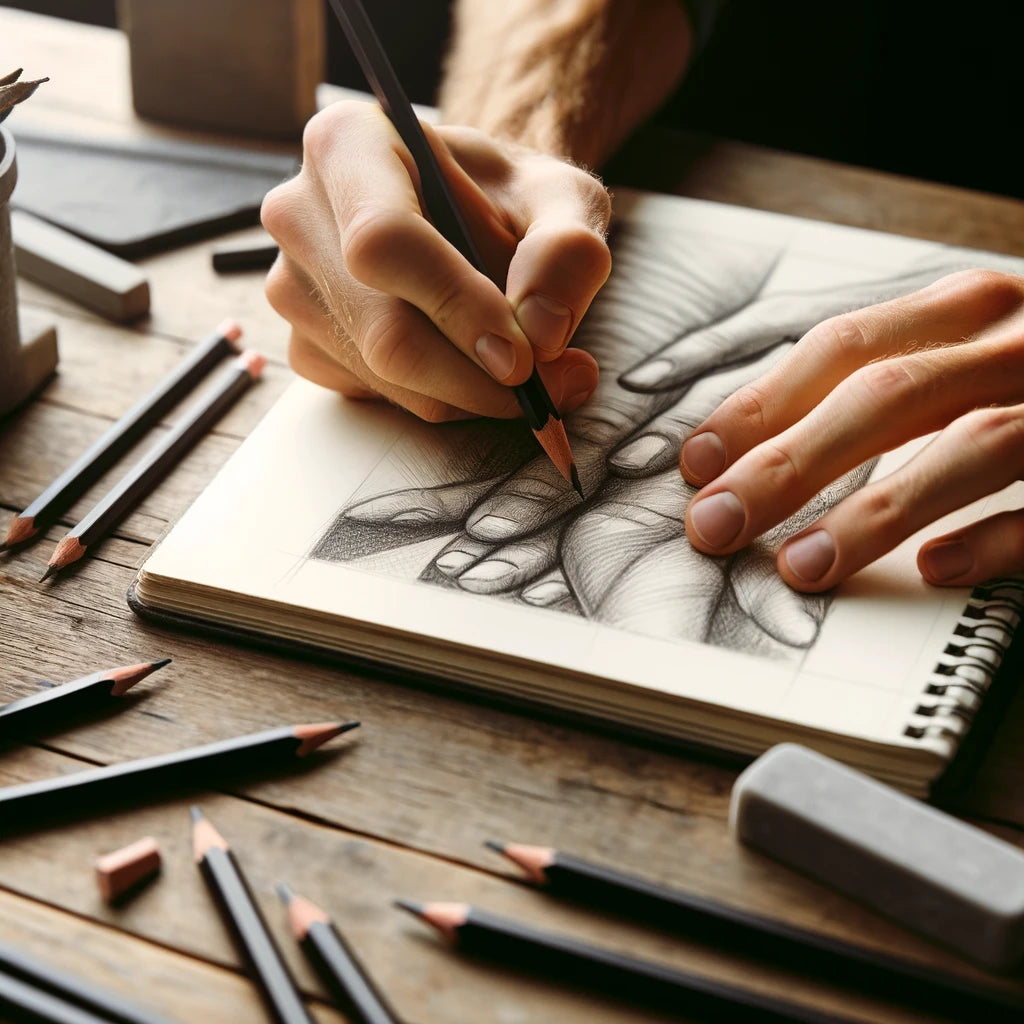


Heart and soul went into those drawings; now we're on a mission to protect them forever. I get it. As an artist myself, I know how important it is to preserve those precious graphite creations. Here's a peek at the golden rules – my personal set of five techniques that ensure your pencil masterpieces remain timeless treasures.
These methods are easy, affordable, and most importantly, they work. I've used them myself and I've seen the results firsthand. Whether you've been in the game for years or are just dipping your toes, these strategies will shield your art from smears, color loss, and other harm. Ready to get started?
Table of Contents:
- Choosing the Right Fixative for Your Pencil Drawings
- Using Parchment Paper to Preserve Pencil Drawings
- Keeping Your Pencil Drawings Flat and Protected
- Preventing Smudging and Preserving Detail in Pencil Drawings
- Framing and Displaying Your Pencil Drawings for Long-Term Preservation
- Conclusion
Choosing the Right Fixative for Your Pencil Drawings
If you're serious about preserving your pencil drawings, you need to get your hands on a quality fixative spray. Trust me, I've learned the hard way that skimping on this step can lead to smudged, faded, or damaged artwork down the line. But with so many brands and types of fixatives out there, how do you choose the right one? Let me break it down for you. Some of the most trusted names in the fixative game include Krylon, Grumbacher, Winsor & Newton, and Lascaux. These brands have been around for ages and have earned their reputation for quality. I personally swear by Krylon Workable Fixatif. It's never let me down in all my years of sketching and drawing.
Workable vs Final Fixatives
Now, here's the thing: fixatives come in two main varieties - workable and final. Workable fixatives, like the Krylon one I mentioned, allow you to keep working on your drawing even after spraying. They provide a light protective layer that still allows you to erase or add more graphite on top. Final fixatives, on the other hand, are meant to permanently seal your finished piece. They offer a stronger hold and more protection from smudging and fading, but once you spray, that's it - no more changes.
How to Apply Fixative Spray Effectively
Okay, so you've got your fixative. Now what? Applying it correctly is key to getting the best results. First, always work in a well-ventilated area. Those fumes can be pretty potent. Shake the can really well to make sure the solution is mixed properly. Hold the can about 12-18 inches away from your drawing and apply a thin, even coat. Don't get too heavy-handed - several light coats are better than one thick, drippy mess. Let each coat dry completely before adding the next. And if you're using a workable fixative, give it a good 15-20 minutes to set before trying to erase or draw over it. One last pro tip: place a piece of scrap paper or cardboard between the spray and your drawing to catch any overspray or drips. Trust me, it's a lifesaver.
Using Parchment Paper to Preserve Pencil Drawings
Now, fixative isn't the only way to protect your pencil drawings. Parchment paper is another secret weapon in my art preservation arsenal. Parchment paper is this amazing translucent, waxy paper that acts as a barrier between your drawing and anything that might smudge or damage it. It's acid-free and archival safe, so you don't have to worry about it deteriorating or yellowing your artwork over time. And because it's translucent, you can still see your drawing through it - no more hiding your hard work.
Step-by-Step Guide to Using Parchment Paper
Using parchment paper to protect your drawings is super simple. Just follow these steps: 1. Grab a sheet of parchment paper that's a bit larger than your drawing. You want enough excess to fold over the back. 2. Carefully place the parchment paper over the front of your drawing, making sure not to smudge the graphite. 3. Flip the whole thing over and fold the excess parchment paper over the back of the drawing. 4. Secure the parchment paper to the back of the drawing using acid-free artist tape. I like to use a tape runner for this - it's neater and easier than dealing with sticky tape. 5. Smooth out any air bubbles and make sure the parchment paper is lying flat against the drawing. And that's it. Your drawing is now protected and ready to be stored or transported.
Tips for Optimal Results
A few extra tips to keep in mind when using parchment paper: - Always handle the parchment paper by the edges to avoid transferring oils from your skin onto the paper. - If you're storing multiple drawings together, place a sheet of parchment paper between each one to prevent smudging or transfer. - Replace the parchment paper if it gets torn, dirty, or wrinkled over time. It's an easy fix that will keep your drawings looking pristine. I can't tell you how many times parchment paper has saved my bacon when transporting drawings to shows or clients. It's a simple solution, but it makes a world of difference.
Keeping Your Pencil Drawings Flat and Protected
Okay, so you've got your fixative and your parchment paper. But there's one more crucial step in preserving your pencil drawings: keeping them flat. When you put hours, days, or even weeks into a drawing, the last thing you want is for it to end up creased, warped, or bent. Storing your drawings flat helps prevent this kind of damage. Plus, when your drawings are flat, it's easier to stack and store them without risking smudges or transfer. And if you ever want to frame or display your work, starting with a flat drawing makes the whole process much simpler.
Techniques for Keeping Drawings Flat
So, how do you keep your drawings flat? Here are a few tried-and-true methods: 1. Store them in a flat file or drawer. If you're serious about your artwork, investing in a dedicated flat file is worth every penny. Look for one with smooth, unfinished wood drawers to avoid snagging or acidic damage. 2. Use a portfolio or art binder. For smaller drawings or works-in-progress, a hardcover portfolio or art binder can do the trick. Just make sure to use acid-free sleeves or parchment paper to protect each drawing. 3. Sandwich them between rigid boards. If you don't have a flat file or portfolio handy, you can create a makeshift version with two pieces of rigid cardboard or foam board. Place your drawing between the boards and secure them with binder clips.
Using Mat Boards for Added Protection
For an extra layer of protection, consider mounting your drawings on acid-free mat board. The mat board provides a rigid backing that helps keep the paper flat and prevents bending or warping. Plus, if you plan to frame your drawing, having it mounted on a mat board makes the framing process much easier. Just make sure to use archival hinging tape or photo corners to attach the drawing to the mat - no glue or adhesive.
Preventing Smudging and Preserving Detail in Pencil Drawings
Now that we've covered the basics of protecting and storing your pencil drawings, let's talk about preserving those delicate details and preventing dreaded smudging. Smudging is the bane of every pencil artist's existence. You spend hours getting the shading just right, only to have it smear into a muddy mess at the slightest touch. The most common culprits behind smudging are: 1. Oils from your skin. Even clean hands can transfer natural oils to the paper, which can smudge or degrade the graphite over time. 2. Friction from rubbing or sliding. When drawings rub against each other or other surfaces, the graphite can smudge or transfer. 3. Improper storage. Storing drawings loosely or in non-archival materials can lead to smudging and damage.
Techniques to Prevent Smudging
Fortunately, there are several easy ways to prevent smudging and keep your drawings looking crisp: 1. Use a barrier. Placing a sheet of clean paper under your hand while drawing can help prevent oils from transferring to the paper. You can also use a mahl stick or bridge to keep your hand elevated. 2. Apply fixative. A light coat of workable fixative can help set the graphite and prevent smudging. Just be sure to let it dry completely before continuing to work on the drawing. 3. Store drawings properly. Using archival storage methods like parchment paper, flat files, or acid-free portfolios can help prevent smudging caused by improper storage.
Preserving Fine Details in Your Drawings
In addition to preventing smudging, there are a few techniques you can use to preserve those delicate details in your pencil drawings: 1. Build up gradually. Instead of trying to achieve deep shadows or fine lines in one pass, build up the graphite gradually with multiple light layers. This helps prevent overworking the paper and allows for more control and precision. 2. Use the right tools. High-quality graphite pencils, sharpeners, and erasers can make a big difference in the level of detail you're able to achieve. Experiment with different brands and grades to find what works best for you. 3. Avoid overworking. It can be tempting to keep fiddling with a drawing until it's "perfect," but overworking can actually damage the paper and cause details to become muddy or smudged. Know when to step back and call it finished.
Framing and Displaying Your Pencil Drawings for Long-Term Preservation
Once you've put all that work into creating and protecting your pencil drawings, you'll want to display them in a way that preserves them for years to come. When it comes to framing your drawings, the materials you choose can make a big difference in their longevity. Here's what to look for: 1. Acid-free mat board. As we mentioned earlier, using an acid-free mat board to mount your drawing helps protect it from acidic damage and keeps it flat. Look for mat board labeled as "archival" or "conservation grade." 2. Archival backing board. The backing board goes behind the mat board and provides an additional layer of protection. Again, make sure it's acid-free and archival quality. 3. UV-protective glazing. We'll talk more about this in a minute, but choosing a frame with UV-protective glass or acrylic can help prevent fading and damage from light exposure.
Using UV-Protective Glass
Speaking of UV protection, this is one of the most important factors in preserving your framed drawings for the long haul. Ultraviolet light from the sun or artificial sources can cause paper to yellow, fade, and become brittle over time. To combat this, look for framing glass or acrylic that offers UV protection. Some options block up to 99% of UV rays, which can make a huge difference in the lifespan of your artwork. If you're on a budget, you can also use a UV-protective spray on regular glass or acrylic. Just be sure to apply it to the outside of the glazing, not directly on the artwork.
Displaying Your Drawings in Optimal Conditions
Finally, where and how you display your framed drawings can also impact their longevity. Here are a few tips: 1. Avoid direct sunlight. Even with UV-protective glazing, it's best to avoid hanging your drawings in spots that get a lot of direct sun exposure. Over time, the heat and light can still cause damage. 2. Maintain a stable environment. Extreme fluctuations in temperature and humidity can cause paper to warp, buckle, or become brittle. Try to display your drawings in a room with consistent temperature and humidity levels. 3. Hang them properly. Use hanging hardware that's appropriate for the weight of the frame, and make sure it's securely attached to the wall. Avoid hanging drawings near doors or other high-traffic areas where they might get bumped or jostled. By following these guidelines, you can ensure that your pencil drawings remain in pristine condition for years to come, ready to be enjoyed by future generations of art lovers.
Choosing the right fixative—workable for ongoing work, final for permanent protection—is key to preserving pencil drawings. Also, simple tools like parchment paper and proper storage can prevent smudging and damage. Remember: light layers of fixative, flat storage solutions, and UV-protective framing will keep your art looking fresh.
Conclusion
Preserving your pencil drawings doesn't have to be a daunting task. With these 5 simple techniques, you can keep your artwork looking its best for years to come. From using fixative sprays to storing your drawings properly, these methods will help prevent smudging, fading, and damage.
Remember, the key is to be gentle with your drawings and to use archival-quality materials whenever possible. With a little bit of care and attention, your pencil masterpieces will stand the test of time.
So go ahead, put these techniques into practice and enjoy the peace of mind that comes with knowing your artwork is protected. Your future self will thank you.